Build your first recipe
A short guide
Introduction
This is a guide to creating a Documotor template for a simple internal memo. Specifically, we're going to automate the process of generating this document. We'll provide you with a small data set and a Word template, and we'll go through the process of adding dynamic elements to the template. This will ensure that the relevant data is inserted into the correct place in the template.
What will I learn?
After following this guide, you'll be able to:
- Create a new recipe.
- Add dynamic elements to a Word template.
- Add data to a recipe.
- Insert text fields into a Word template.
Prerequisites
You'll need access to a Documotor tenant and this template.
Navigate the UI
The UI of Documotor is simple and standard. Navigation is done via a Navigation pane on the left, and the folder structure follows a logic similar to Windows Explorer and Finder.
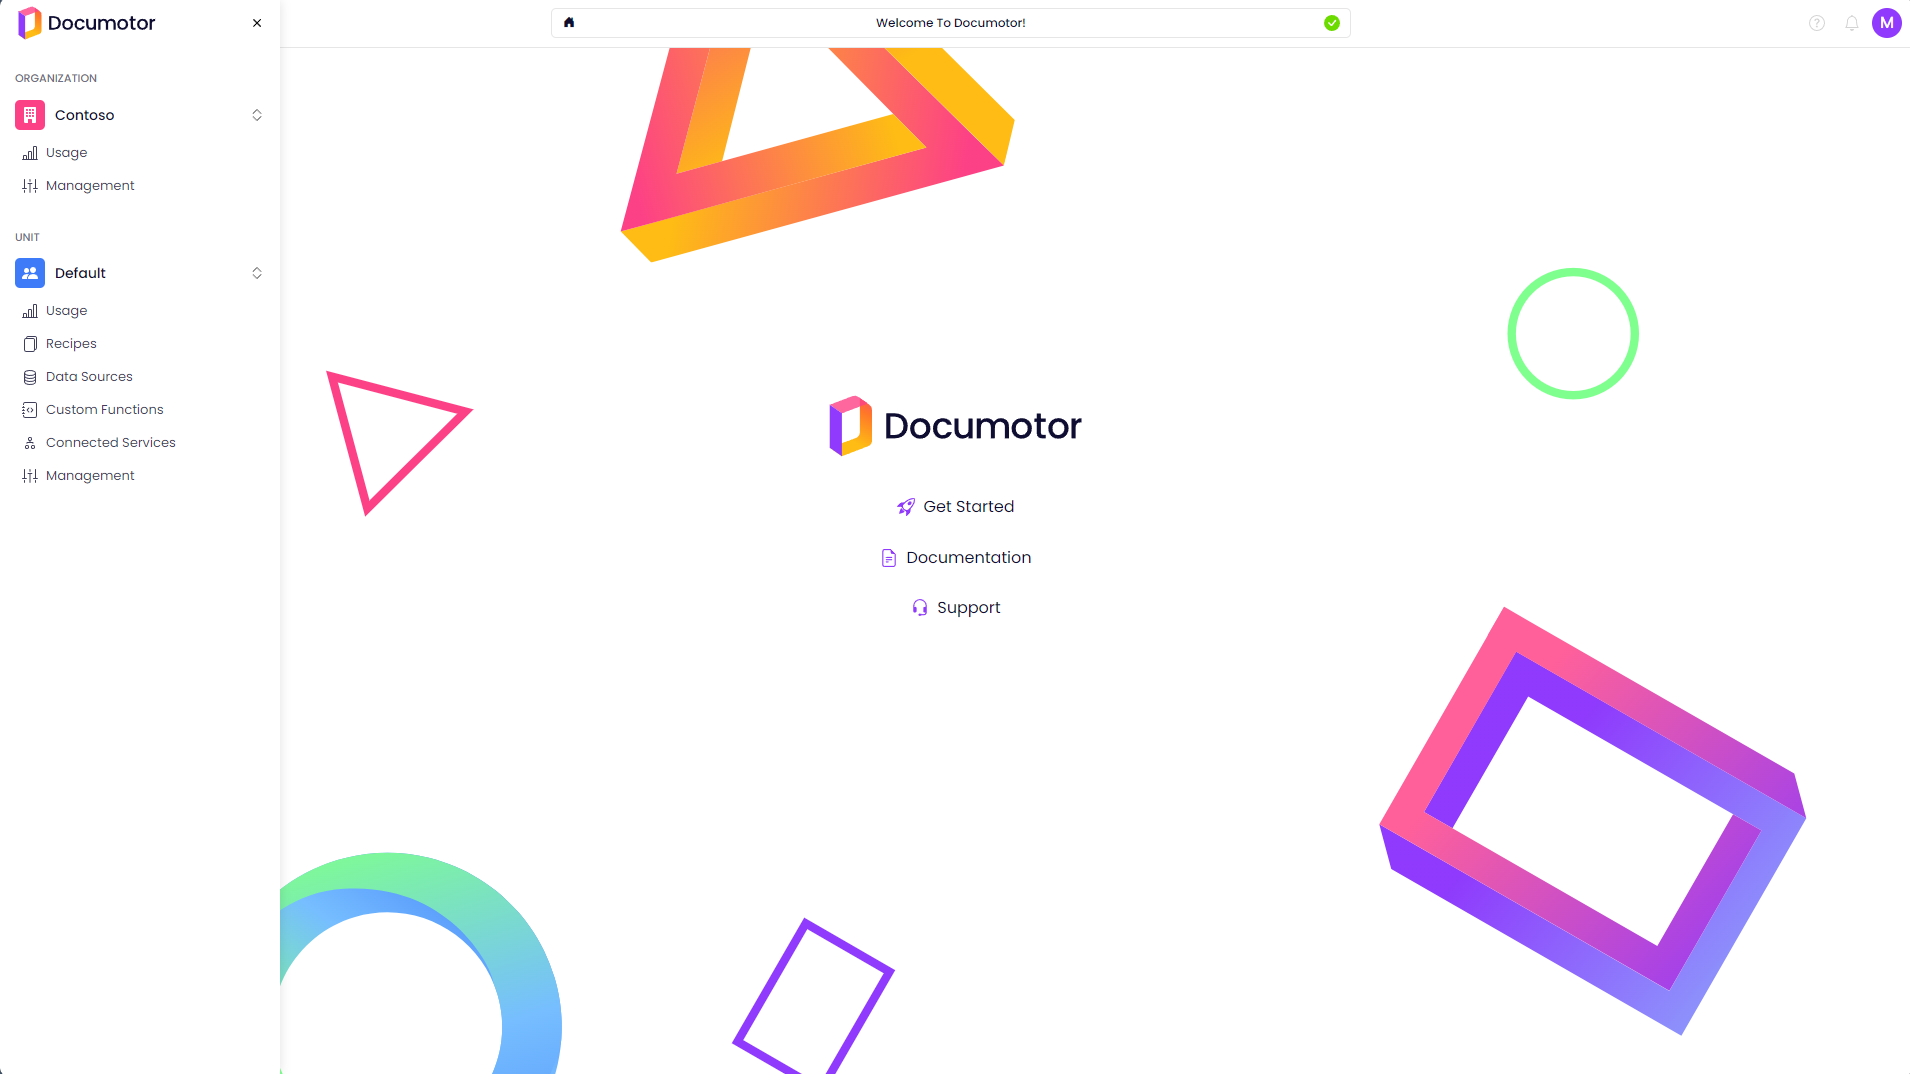
The homepage of Documotor after logging in.
- From the home page, in the Navigation pane on the left, you'll see the structure of your organization's Documotor page. Choose a unit where you can create templates for practice (Default above) and select Recipes.
- If you've already created a folder for yourself to create recipes for practice in, navigate to it, otherwise, it might be a good idea to create one now by selecting New Folder and naming it as desired.
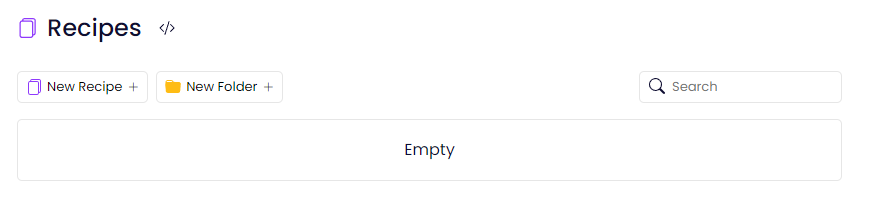
Navigating an empty folder in the Recipes tab.
- Inside the folder, select New Recipe > Recipe. Select Word (.docx) to indicate it's a Word template, name it "Memo" and open it.
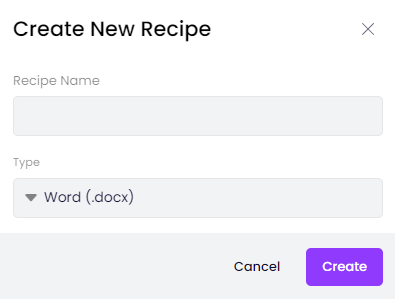
New Recipe dialog box.
- In the top-left, you'll see the tabs Data and Template. You'll be navigating between them as you work.
- The data view consists of the panes Sample Data, Transformation Editor and Transformation Result.
- The template view shows you Input Data (the input to the template, identical to Transformation Result from the Data view), the Binding Editor and Generated Documents.
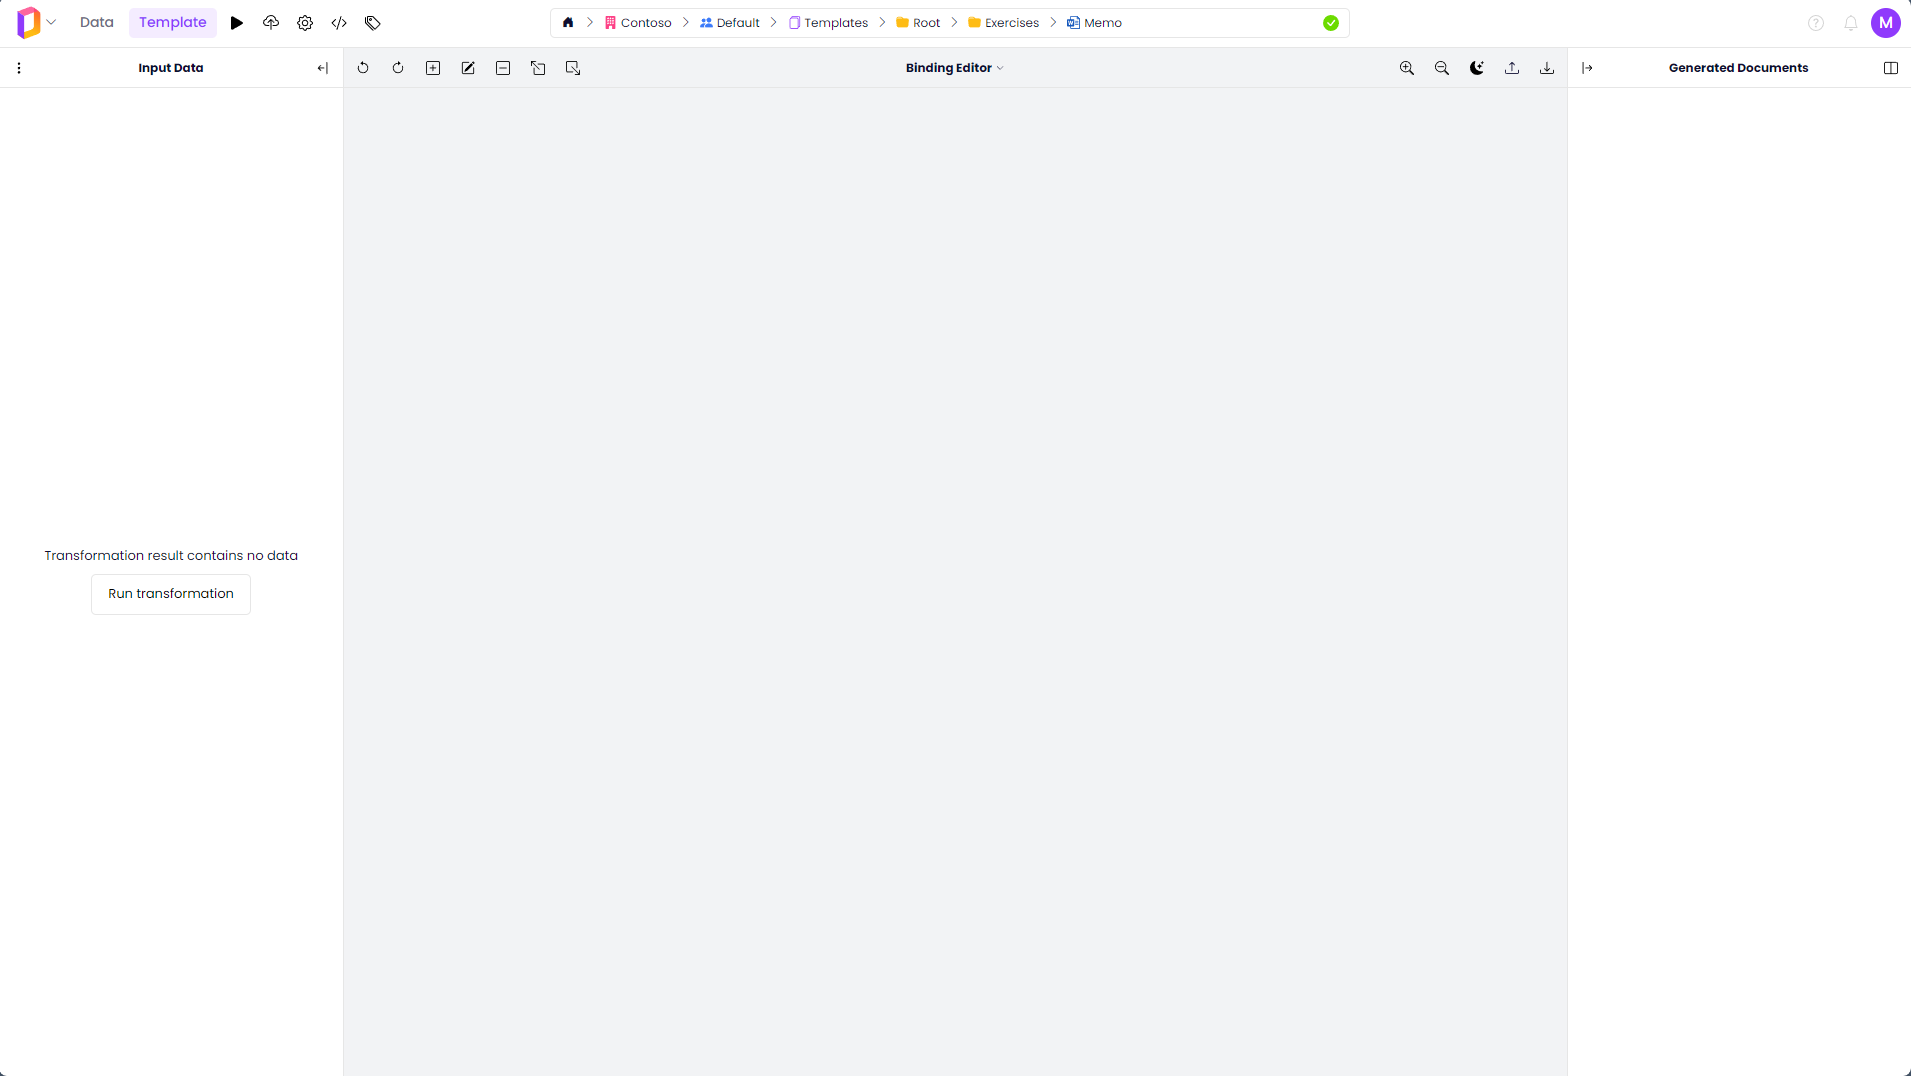
A blank recipe from Template view.
Sample data and template
Sample data is the data that is manually provided to fill out templates. Optionally, it can be edited by creating a transformation inside the Transformation Editorbefore using it in the template. This won't be necessary right now, but you can follow the guides for data transformation if you want to find out more. Here is the data that we'll use to populate this template:
{
  "companyName": "Contoso",
  "address": "Main street 1",
  "phone": "+999 999 999",
  "email": "[email protected]",
  "recipient": "John",
  "sender": "Jane",
  "date": "30/02/2050",
  "text": "Be sure to join the company dinner this Friday.",
  "signOff": "Best regards"
}
Copy it, navigate to the Data view, and inside Sample Data pane, select the pen icon to enter edit mode, then paste the data and update it by using the update arrow that appeared next to the pen.
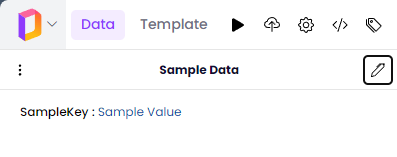
The Sample Data pane from the Data tab. The data is in Tree view.
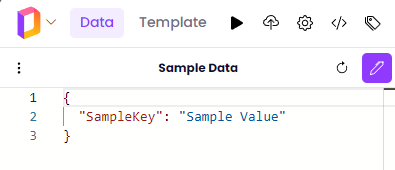
The same data in Edit view. An update arrow appears.
Download the sample template if you haven't already, then navigate to the Template view and upload it using the upload button in the right side of the Binding Editor toolbar.

The Binding Editor toolbar with the Upload button, the second one from the right.
At any point, you can save your work by selecting Ctrl+S or the Save button in the top-left.
Bindings
The dynamic elements in Documotor are called bindings. We say we bind the data to the template. The sample data is in JSON format - for now, it's enough to know that the content surrounded by curly brackets {} is called an object, and it consists of key-value pairs, e.g., in the screenshot above, "SampleKey" is a key with value "Sample Value".
The workflow will consist of creating a binding in the template and choosing a binding key, the key of the input data whose value you want to insert, and repeating the process for all the elements in the template that are supposed to be dynamic.
The binding type for standard text data is Field. Here's how to insert a Field binding:
- Select a piece of text where you want to insert a piece of data.
- Select the Add binding button in the top-left of the editor, also accessible by the [A] shortcut.
- Choose the Field binding type.
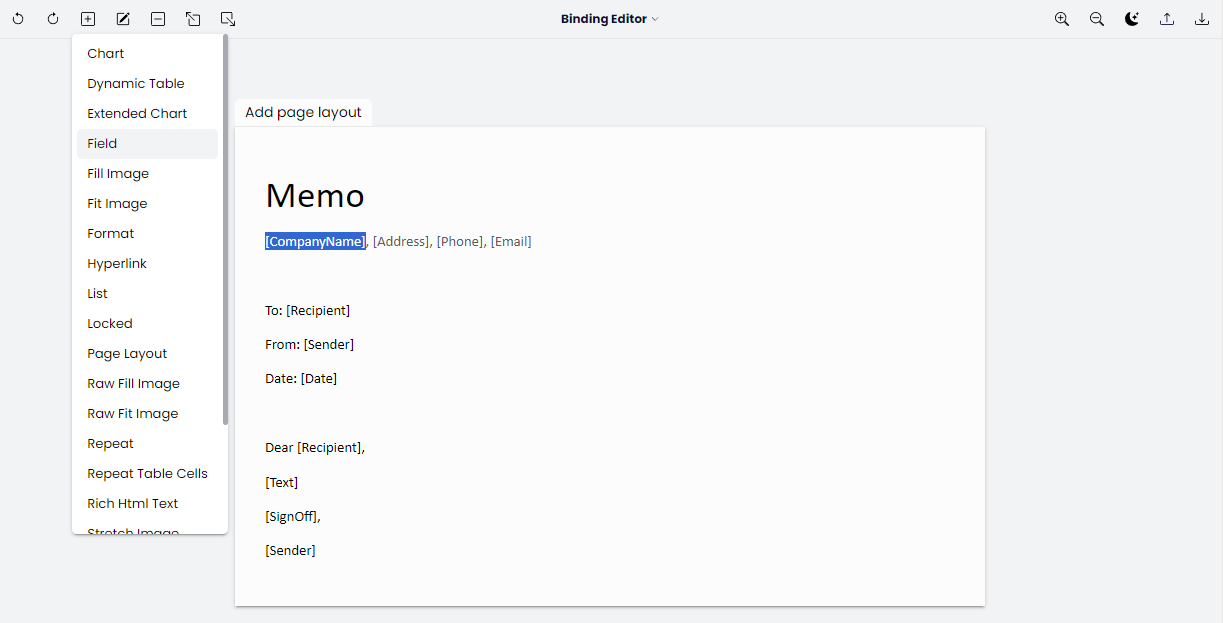
Adding a Field binding to insert the company name.
- Click on the data selector icon for the Binding Key property to open your data view.
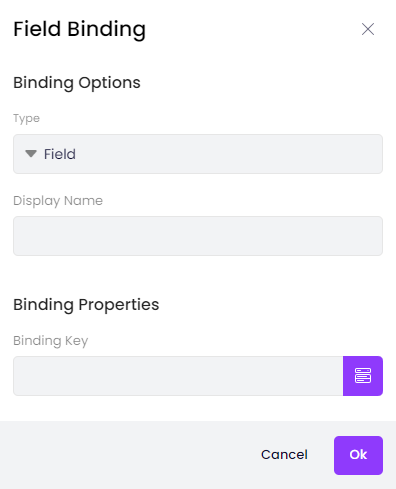
Field binding dialog.
- From the data view select the companyName data path and hit select.
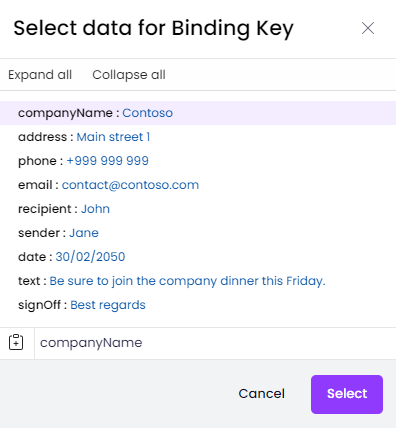
Data viewer.
- Edit the default display name of the field if needed.
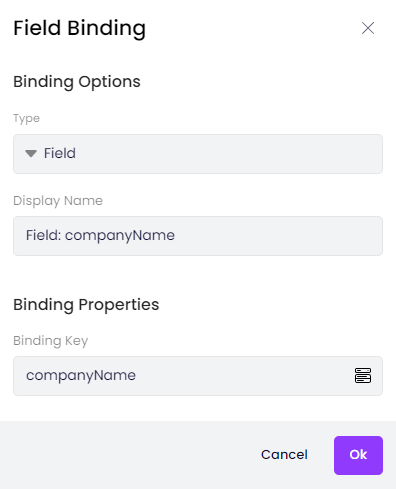
The dialog box for setting up the companyName binding.
- Press Ok.
Follow these steps to insert field bindings around all the placeholders in the template, indicated by the square brackets. For each one, the binding key should be the text inside the bracket. This also illustrates a best-practice approach for making dynamic templates - there is no requirement on the format of the placeholders, but it helps to have a good name for the inserted text, and the brackets help you identify placeholders easily.
Generate a document
When you're done, generate the document by pressing the Run button in the top-left. Then select the most recently generated document from the right side pane to preview it, and inspect whether the document looks like you want it to. If you see a mistake in the generated document, you can always use the binding toolbar in the top-left to edit or remove and re-insert any bindings that you're not satisfied with. When you are satisfied, remember to save your work.
Congratulations, you just made your first Documotor template! In the other guides, we'll dive into more complex setups and start with data transformations.
Learn more
- If you want to know more about the UI and options of the Recipe Editor, check out our guide to the Recipe Editor.
- If you want to set up more recipes and learn more about the entire process, check out the overview of our Guides section.
Updated about 1 year ago